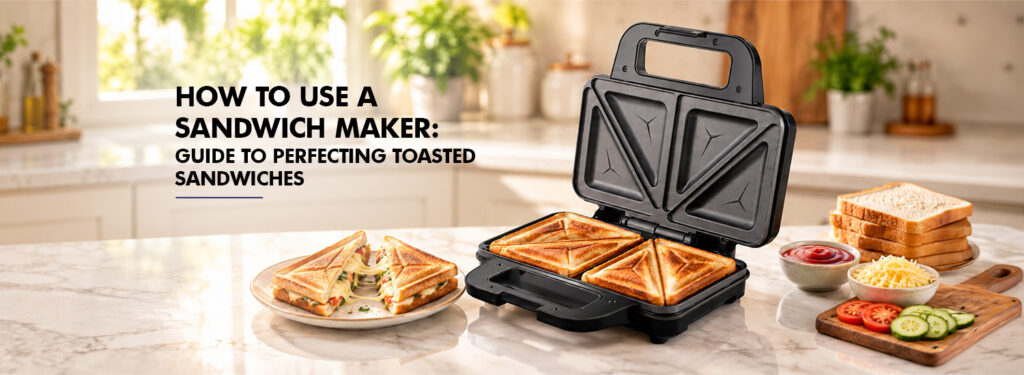

Most people don’t think twice about a sandwich maker until their first attempt comes out pale, stuck to the plate, or leaking cheese everywhere. It’s a simple appliance, but there’s a real difference between just closing the lid and knowing how to use a sandwich maker well, and that difference shows up in every sandwich after the first one. Once you’ve got the basics down, it becomes one of the easiest things in the kitchen to rely on.
How to Use a Sandwich Maker
Getting good results isn’t complicated, but a few steps matter more than people expect.
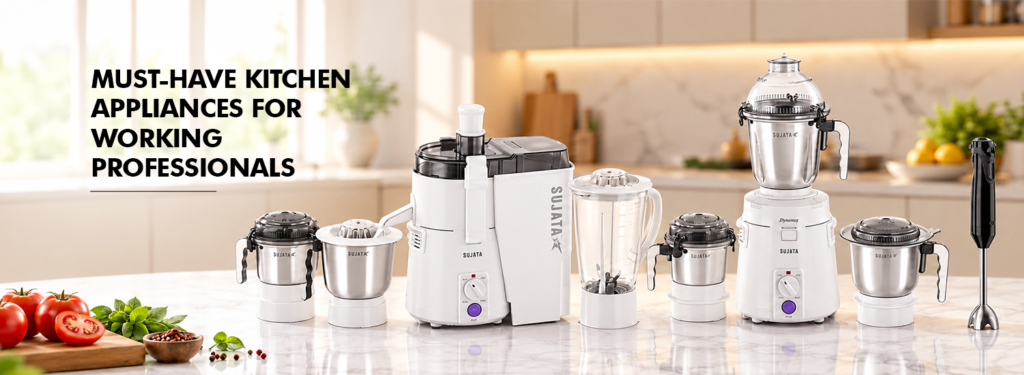
The Indian kitchen has unique requirements that need consideration. There are fruits that come in the off-season, like pomegranate, sugarcane, and amla. Then there are fruits and vegetables that require more power, such as beetroot, carrots, and ginger. Leafy vegetables are another category that needs attention.
Step 1: Preheat the Appliance
Switch on your sandwich maker a few minutes before assembling your sandwich. Preheating ensures the plates reach an even temperature, helping the bread turn golden and crispy. Skipping this step can leave your sandwich pale, soft, and unevenly toasted.
Step 2: Prepare the Bread
A light layer of butter or oil on the outer side of the bread gives that classic golden, slightly crisp finish. Go easy here; too much butter can smoke on hot plates and leave the sandwich greasy rather than crisp.
Step 3: Add the Filling
This is where most beginners go wrong. The key is to use a thin layer of filling rather than a thick heap. Overfilled sandwiches often cause cheese and sauces to leak onto the heating plates, where they can smoke and burn during the next round. Cheese, thinly sliced vegetables, and pre-cooked fillings work well because they melt and heat through quickly without releasing too much liquid.
Step 4: Close the Lid Properly
Place the lid gently over the bread instead of forcing it closed. If the sandwich is too bulky, the machine will not close properly, and pushing the lid down forcefully may damage the hinge or squeeze the filling out from the sides. Instead, remove some of the filling rather than forcing the lid closed.
Step 5: Toast Until Golden Brown
Most sandwiches take somewhere between three and five minutes, though this depends on your specific sandwich toaster and how thick the filling is. Many models include an indicator light that turns off or changes colour when the sandwich is ready, which takes the guesswork out of timing.
Step 6: Remove with Caution
Use a wooden or silicone spatula to remove the sandwich from the toaster and avoid damaging the non-stick surface with metal utensils. Metal utensils can scratch non-stick plates, and scratched plates are far more likely to cause food to stick the next time you use the electric sandwich maker.
Common Mistakes to Avoid
A few habits are responsible for most disappointing results:
- Overfilling: More filling doesn’t mean more flavour; it usually just means a mess on the plates.
- Using overly wet fillings: Soft vegetables like tomatoes or cucumbers release moisture as they heat, which can leave bread soggy if they aren’t lightly cooked or drained beforehand.
- Skipping preheating: This leads to uneven toasting and longer cooking times.
- Cleaning with abrasive tools: Scrubbing pads and metal scrapers wear down non-stick coating over time.
- Opening the lid too frequently: Checking constantly allows heat escape and slows down cooking.
- Unplugging incorrectly: Always switch off and unplug from the socket rather than yanking the cord, which can loosen internal wiring over time.
Shopping for a Sandwich Maker?
If you’re shopping for one, a few features make daily use noticeably easier.
- Non-stick plates cut down on both sticking and cleaning effort.
- Reasonable wattage means faster preheating without excessive power draw.
- A compact kitchen appliance that stores upright or flat saves counter space in smaller kitchens.
- Cool touch handles matter more than people expect, especially in households with children around.
- Indicator lights take the guesswork out of timing, and solid build quality determines whether the hinge and coating hold up after months of regular use.
Sujata’s sandwich maker offers practical features for busy households, including XL plates for generously filled sandwiches, automatic temperature control for consistent heating, and a cool-touch metal body for comfortable handling. Its non-stick plates make cleaning easier, while the compact design saves counter space and keeps everyday breakfast preparation simple.
Conclusion
Once you understand the basics—preheating properly, keeping fillings light, and letting the appliance do its job without forcing the lid—a sandwich maker becomes one of the easiest tools in the kitchen to rely on. Knowing how to use a sandwich maker really comes down to these small habits, not any special skill, which is exactly why so many households keep coming back to it for breakfast ideas and snack recipes alike. Whether you already own one or are picking your first sandwich maker, these basics will serve you well, and a dependable option like Sujata’s is worth a look if you want something built to handle daily use without fuss.
FAQs
Should you butter both sides of the bread?
Buttering only the outer sides that touch the hot plates is enough for a crisp, golden finish. Buttering the inside isn’t necessary and can make the sandwich greasy without adding much benefit, especially if you’re already using a filling with some fat content, like cheese.
Can aluminium foil be used in a sandwich maker?
Yes, many people use theirs for grilled vegetables, quesadillas, or even reheating leftovers like parathas. The flat, heated plates work well for anything that benefits from direct heat on both sides, though it’s best to stick to foods with a similar thickness to a sandwich.
How do you stop cheese from leaking out?
Keep the filling thin and centred, away from the edges of the bread. Overfilling is the most common cause of leaks, so resist the urge to pile on extra cheese. Trimming bread crusts slightly and sealing the edges gently with a light press also helps keep everything contained.